New vaporizer, thick manual, mild confusion? From charging and grinding to the first slow draw and the clean-up, here is your first session, step by step.
The box is on the table. You've opened it, admired the device, found the manual, and are now holding a small metal thing with the faint suspicion that it belongs to a coffee machine.
Welcome to dry herb vaporizing. It's less mysterious than the box suggests.
A vaporizer heats ground flower until it releases vapour, without setting it on fire. That one difference changes almost everything about how a session goes: the pace, the taste, what the vapour looks like and what counts as a mistake.
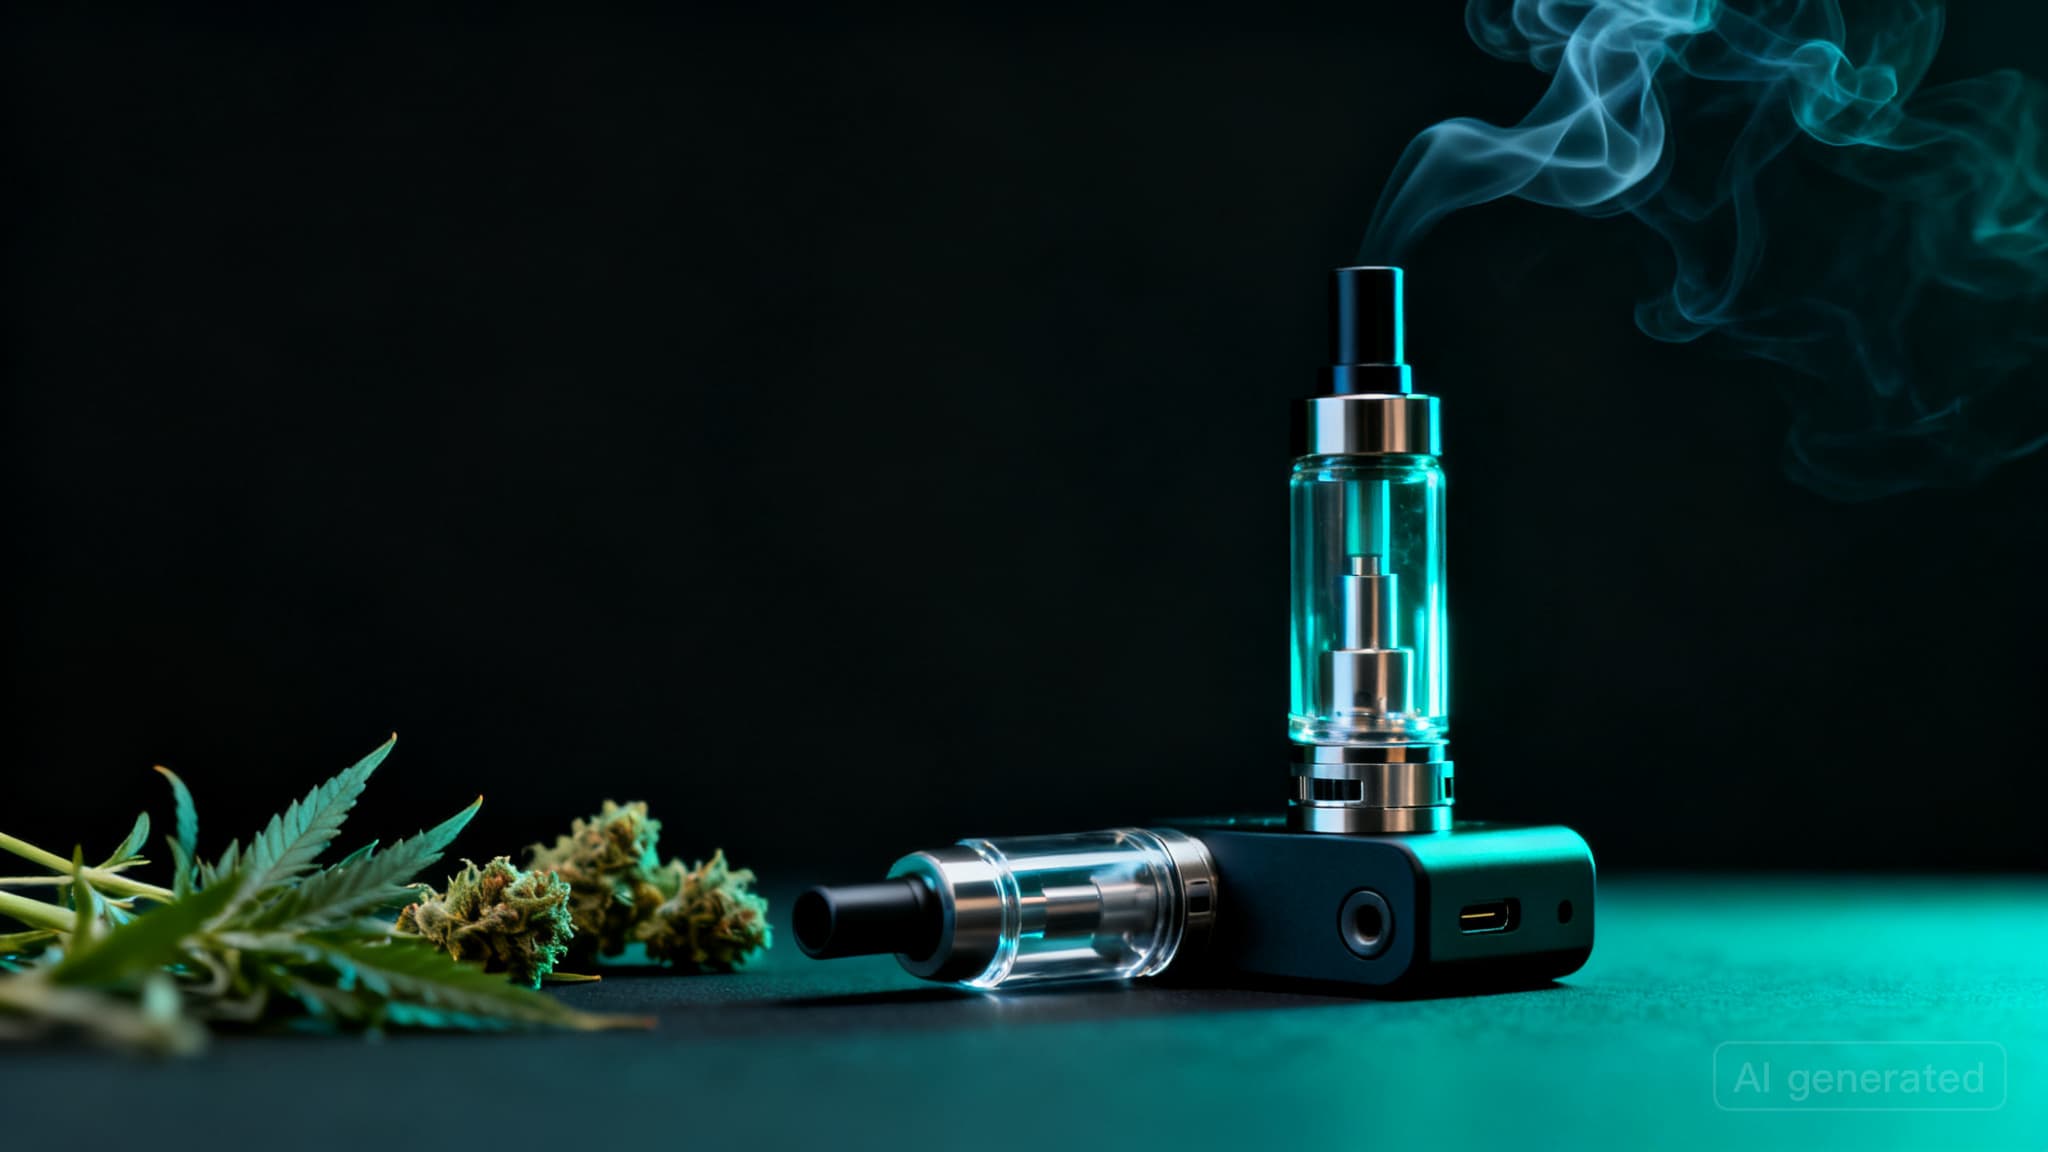
This walkthrough takes you from unboxing to cleaning up, one step at a time, for adults 18+ trying a dry herb vaporizer for the first time. The examples use our Weedorizer Vaporizer, but the steps work for most portable devices. If you're still choosing hardware, the vaporizers page is where they live.
Your first session in ten seconds
| Step | What to do | Watch for |
|---|---|---|
| Unbox | Read the manual, check every part is there | Protective film or packing bits in the chamber |
| Charge | Give it a proper charge before the first session | The charging light coming on |
| Grind | Medium and fluffy, not powder | Dust that gets pulled through the screen |
| Pack | Fill the chamber evenly, press lightly | Packing so hard that air cannot pass |
| Set the heat | Start around 170 to 180 °C | Jumping straight to the maximum |
| Draw | Slow and steady, a few seconds | Short, hard puffs |
| Clean | Let it cool, empty, brush out | Leaving old material in overnight |
1. Unboxing and charging: the boring bit that saves the fun bit
Yes, read the manual. All of it. Every vaporizer has its own button sequence for switching on, changing temperature and locking the device, and guessing usually ends with you holding the power button while it flashes at you like a disappointed lighthouse.
Lay the parts out and check them against the parts list. Look inside the chamber for protective film, foam or other packing material and remove anything that should not be there. A clean start is the easiest start.
Then charge it. Some manuals ask for a full charge before the first use, and either way a full battery means your first session will not end halfway through a draw. The Weedorizer Vaporizer charges through a micro USB port at the bottom and has a 2200 mAh battery that its product page rates for up to 90 minutes of use.
- Use the cable the manual recommends.
- Charge on a hard surface, not under a cushion.
- Learn what the charging light means now, so it isn't a puzzle later.
Some people like to run one empty heat cycle before the first real session, so any new-device smell can air out. If your manual suggests it, do it; if it says nothing, you can skip it.
2. Grinding and packing the chamber
This is where most first sessions are won or lost, and it happens before the device is even switched on.
The grind
Grinding exposes more of the flower to the heat, whether it comes from the chamber walls or from hot air passing through, so the material heats more evenly. That is why you grind. But there is such a thing as too fine: on most devices a grind as fine as powder can clog the screens, choke the airflow and let small bits through to the mouthpiece, which is nobody's idea of flavour.
A very coarse grind tends to heat unevenly, so aim for the middle: a medium, fluffy grind of small, even pieces with a bit of air between them. A few turns in a decent grinder usually gets you there. If you are tempted to grind it into flour, stop. The flower has suffered enough.
The pack
Fill the chamber up to, or just below, the rim and press down lightly with a fingertip or a packing tool. The goal is an even bed that still lets air through. Think of a well-made bed, not a vacuum-sealed one.
- Too loose: usually means thin vapour and patchy heating.
- Too tight: the draw becomes hard work, a bit like sipping through a coffee stirrer.
- About right: the draw has light resistance and the material stays put when you tilt the device.
The Weedorizer Vaporizer's chamber holds 0.3 g, which its product page lists alongside the stainless steel heating chamber. Other devices differ, so check yours rather than trusting a number you saw online.
3. Choosing a starting temperature
Temperature is the main dial on a dry herb vaporizer, and one beginners often get wrong, usually by turning it all the way up "to make sure it works".
Many users find that lower temperatures give lighter, more flavourful vapour that may be barely visible. Higher temperatures tend to produce denser, warmer vapour with a toastier taste, which some people find harsher on the throat.
A common starting point is around 170 to 180 °C. From there, go up in small steps of about 5 to 10 degrees until the taste suits you.
- Start at your chosen setting and take a few draws.
- If the taste fades or the vapour gets very thin, take the next small step up.
- Repeat until the chamber feels done (more on how to tell below).
The Weedorizer Vaporizer adjusts from 93 to 220 °C in single-degree steps, so you can creep up gradually instead of jumping between a handful of presets. Whatever device you use, let it finish heating before the first draw.
Why does any of this matter? Because the whole point of a temperature-controlled device is heating without burning. In a 2016 lab study of several vaporizers published in PLOS ONE, the researchers found that the electrically driven, temperature-controlled devices released cannabinoids reliably, while combustion was observed with the one gas-powered device they tested. Control is the feature.
4. The first draws, and what normal vapour looks like
Forget everything you know about lighters. A vaporizer rewards patience: many users find a slow, steady draw of a few seconds works better than short, hard puffs. Breathe in gently, as if you were sipping a hot drink through a straw and wanted to keep your tongue.
The first draw or two may give little vapour while the herb warms through. Give it a few more slow pulls before you change anything.
What you should see
Vapour tends to be thinner than smoke and clears faster. At lower temperatures it can be very faint, so taste is often a better sign than cloud size that the device is working. A faint wisp is not a fault in itself, and the flavour often moves from brighter towards toastier notes as you turn the temperature up.
How to tell the chamber is done
Once the taste has faded and even a temperature bump produces little vapour, the session is over. Let the device cool and look at the material:
- Light to medium brown, dry and crumbly: nicely done.
- Still green in patches: the heat may not have reached everything evenly (stir or grind a little finer next time) or the session ended early.
- Very dark brown or black: probably too hot, and black ash can mean it started to burn. Turn it down next time.
And because it bears saying in a beginner guide: start low, go slow, and read the product page of whatever you put in the chamber. A first session is a test drive, not a personal best.
5. Common beginner mistakes (we've all made at least three)
- Maximum heat from the start. You skip the lighter, more flavourful end of the range entirely. Start lower and work up.
- Puffing like a cigarette. Short, sharp puffs give the heat no time to work. Slow and steady.
- Grinding to dust. See step 2: medium and fluffy.
- Overpacking. If the draw feels blocked, take a little out and repack more gently.
- Drawing before it is ready. Wait for the ready signal the manual describes.
- Chasing clouds. Bigger clouds come with higher heat, and many people find the vapour harsher and the flavour fainter near the top of the range. Taste over theatre.
- Forgetting the battery. Charge after the session, not five minutes before the next one.
- Never cleaning it. Which brings us neatly to the last step.
6. Cleaning up after your session
The single best habit you can build: clean a little every time. It takes a minute, keeps the flavour honest and stops the chamber turning into an archaeological site.
- Let it cool. Always switch off and wait before touching the chamber.
- Empty it. Tip the spent material out over a tray or bin, not your sofa.
- Brush it out. Use a small cleaning brush to clear loose bits from the chamber and screen.
- Wipe the mouthpiece. A dry cloth or cotton bud after each session goes a long way.
Every so often, give it a deeper clean. Many manufacturers suggest isopropyl alcohol and cotton buds for removable parts such as screens and mouthpieces, but the electronics and some materials must never get wet. Follow your manual exactly here, and let everything dry fully before you reassemble and switch on.
A clean device also makes the next first draw taste like a first draw. Future you will be grateful, possibly smug.
That's the whole routine: charge, grind, pack, start low, draw slow, brush out. The small metal thing was never part of a coffee machine.
The first-session shelf
To round out the kit, or to restock for the next session, these three cover the walkthrough above:
- Weedorizer Vaporizer: the device this walkthrough uses, adjustable from 93 to 220 °C in single-degree steps, so you can creep up from 170 °C exactly as step 3 suggests.
- Weedorizers Grinder: the 60 mm metal grinder with a magnetic lid, for the even, airy grind from step 2.
- Super Silver Haze CBD: 1 g of sativa-dominant hybrid buds whose page describes citrus zest and herbal pine on the nose, a good one for noticing how flavour changes as you step the temperature up.
Want to try a few different flowers at different temperatures? The CBD range is that way. Each product page describes the product and its key details; rules differ between countries, so please check yours before ordering.
First session, answered
What temperature should a beginner start a dry herb vaporizer at?
Somewhere around 170 to 180 °C is a common first setting. Lower settings taste lighter and closer to the flower; higher ones give denser, warmer vapour. Step up 5 to 10 degrees at a time rather than jumping straight to the top of the range.
Why can't I see much vapour from my vaporizer?
Vapour tends to be thinner than smoke and clears faster, and at lower temperatures it can be very faint. If the draw tastes of the flower, it is probably working. If it tastes of nothing, check the device has finished heating, the chamber is packed evenly and your draws are slow.
How finely should I grind for a vaporizer?
Aim for a medium, fluffy grind: small, even pieces rather than powder. On most devices, very coarse tends to heat unevenly and powder-fine can clog the screens and let bits through to the mouthpiece. The ideal grind varies a little by device, so check your manual.
How often should I clean my vaporizer?
Empty and brush out the chamber after every session once it has cooled, and give the mouthpiece and screens a deeper clean every so often, following the manual for which parts can be wiped with isopropyl alcohol.
More reading for after the session
Product details as listed on weedorizers.com on 17 October 2026. Your device's manual always overrides general advice.